Open Endpoint Manager > click 'Devices' > 'Bulk Installation Package' > 'Bulk Installation Package'
Endpoint Manager lets admins bulk-install the EM agent on multiple Windows endpoints using Active Directory and group policy (GPO).
Once the client is installed, the devices are added to EM for management.
To do this:
Complete a form with details about your deployment
Download the custom installation package created by Endpoint Manager
Create a group policy object (GPO) and install the package on your endpoints enrolled on your Active Directory (AD)
Software Requirements
AD Server – Windows Server 2008 or higher
Endpoints – Windows 7 or higher
Note: This wiki tutorial above is for Windows Server 2008 Standard. Steps may vary slightly for other Window server versions.
The deployment involves the following steps:
Step 1 - Configure the offline EM package
The communication client package is unique for each company and user. Endpoints that have the client installed are listed under the name of the endpoint user. You can download and execute signed bulk installation packages by default, which will prevent Microsoft Windows UAC warning messages when the installer is running. You can always customize your bulk packets according to your needs.
Configure the offline package
Login to ITarian
Click 'Enroll Devices in Bulk' in the ITarian taskbar
OR
Click 'Applications' > 'Endpoint Manager'
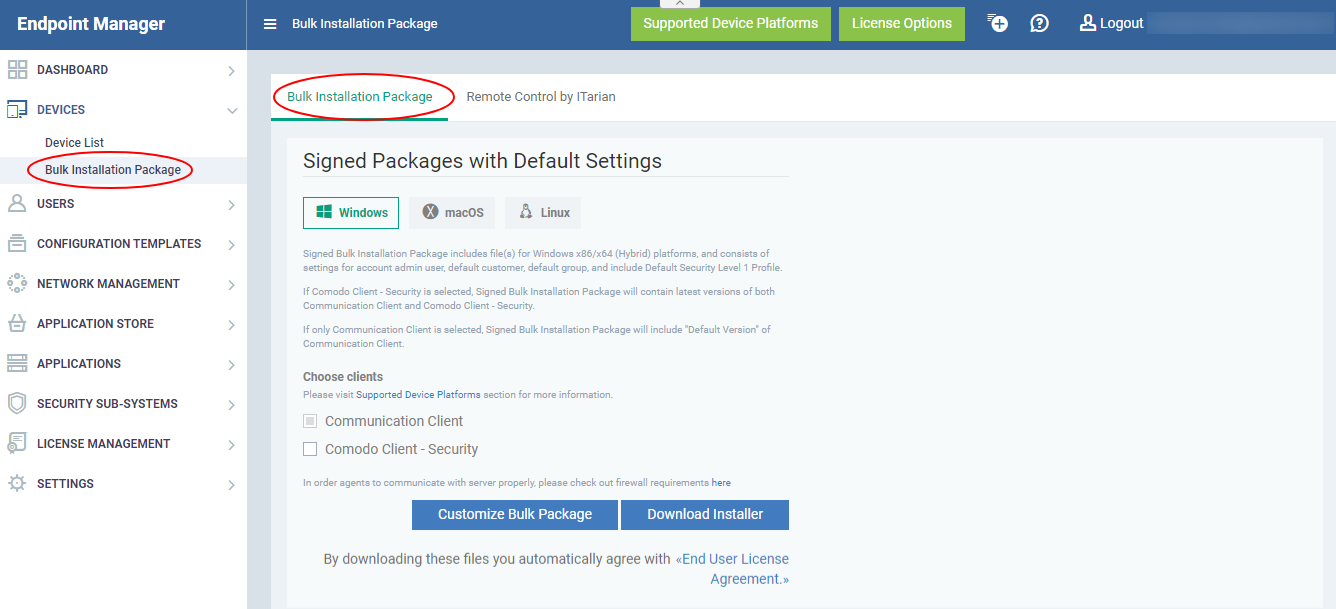
Click 'Devices' > 'Bulk Installation Package'
Select the 'Bulk Installation Package' tab
The package configuration screen opens on the right:
Select 'Windows'
Click 'Customize Bulk Package' if you need to customize your bulk installation
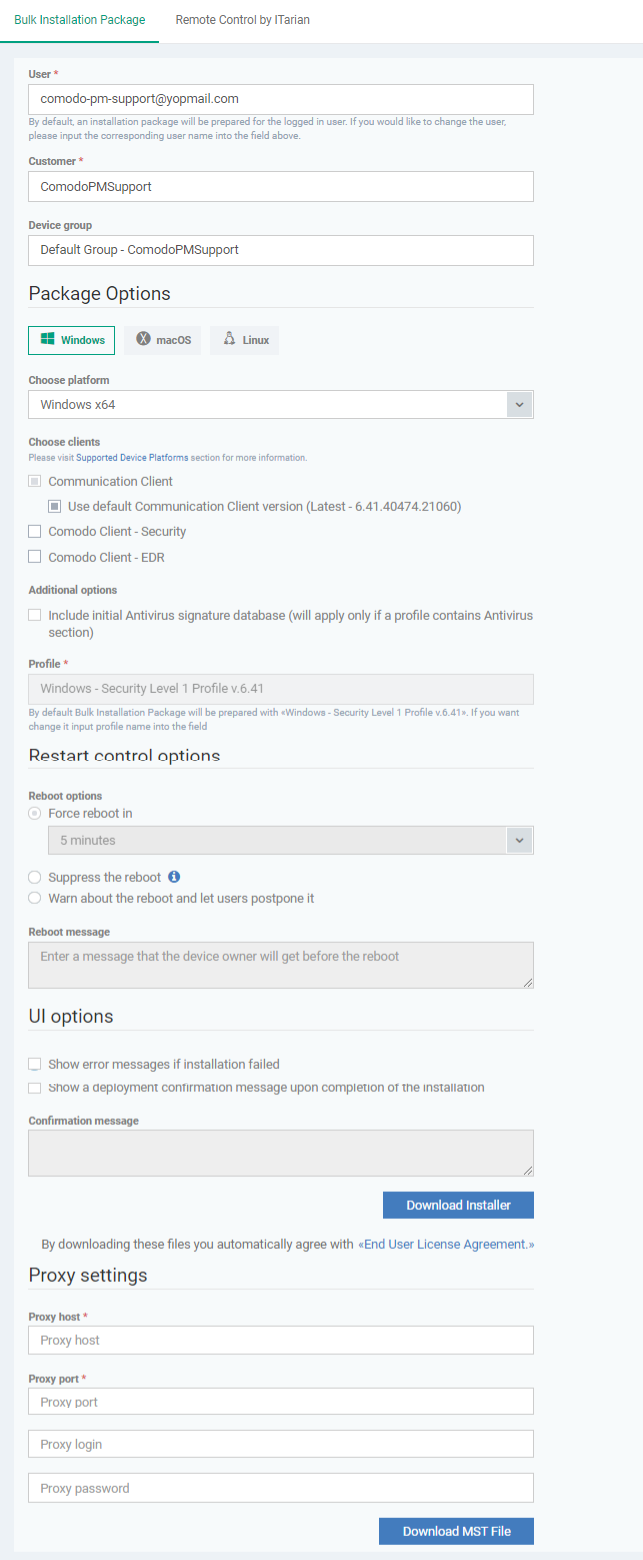
User - Devices enrolled by AD GPO are assigned to the currently logged-in admin by default.
Specify a different user if required.
Start typing the name of a user and choose from the suggestions that appear.
Customer - Choose the company to which the endpoints should be assigned.
This field only applies to ITarian MSP customers. It does not apply to ITarian Enterprise customers.
Device Group - The device group to which enrolled devices should be added (optional).
Profiles that apply to the group will apply to all devices you add.
See this wiki if you need help to assign profiles to a device group.
Package Options -
Operating system - Select Window OS version - 64 bit, 32 bit or hybrid. The hybrid package will detect the OS version and install the correct client.
Clients:
Communication Client (CC) - Mandatory. This client enrolls the endpoint.
If enabled in 'Settings' > 'Portal Setup' > 'Client Settings' > 'Windows' > 'Communication Client' interface, you can select the version of CC to be installed.
Comodo Client Security (CCS) - Optional. This client installs security software such as antivirus, firewall and auto-containment.
Note - You can choose the version of CC and CCS version to install if enabled in portal settings. If not enabled then you must install the ‘default’ version.
You can also configure the following for CCS:
Additional Options:
Database - Choose whether to include the latest virus database with the installation package. This increases the file size. If disabled, the client will download the latest database anyway when you run the first scan.
Profile - Default is 'Windows - Security Level 1' profile. Choose a different profile if required.
Type the first few characters of a profile and choose from the suggestions that appear.
Restart Control Options - CCS only. Reboot endpoints to complete CCS installation. You have the following restart options:
Force the reboot in... - Restart the endpoint a certain length of time after installation. Select the delay from the drop-down. A warning message is shown to the user prior to the restart.
Suppress reboot - Endpoint is not auto-restarted. The installation is finalized when the user next restarts the endpoint.
Warn about reboot and let users postpone it - Shows a message to the user which tells them that the endpoint needs to be restarted. The user can choose when the restart happens.
Optional. Type a custom message in the 'Reboot Message' field.
UI Options - Configure which messages are shown to the user regarding the installation.
Show error messages if installation failed - Notifies the user if the installation is not successful.
Show a confirmation message upon completion of installation - Notifies the user if the installation is successful. Type your message in the box provided.
Proxy Settings - Nominate a proxy server through which the client should connect to Endpoint Manager and other Comodo servers. If you do not set a proxy then the clients will connect directly as per network settings.
Enter the IP / hostname and port of the proxy server
Enter the UN/PW of an admin of the proxy server
Note: If you specify a proxy then you must configure the same proxy settings in the profile on the device:
Click ‘Configuration Templates’ > ‘Profiles’ > open the device profile > ‘Add Profile Section’ > ‘Clients Proxy’
If you do not wish to use a proxy server for CCS and CC then click 'Download Installer' after configuring user, company, group and client options.
If you wish to use a proxy then additionally complete the 'Proxy settings' section and click 'Download MST File'
Please note .mst file can be added to the GPO only after it has been configured as explained in the steps given below.
Step 2 - Download the EM client packages
The next step is to download the EM communication client (mandatory) and security client (optional) for Windows devices.
Read the EULA in full by clicking the 'End User License Agreement' link.
Download Installer - Download the client setup file for Windows. After installation, the client connects to the EM server and begins importing devices.
Creates a .msi file if you only select the communication client. Creates a .exe file if you select both communication and security clients.
Download MST File - Proxy setups only. Download a .mst installer which includes proxy server information.
Save the package on the Active Directory server from which you want to import endpoints.
Step 3 - Create a shared network folder and configure permission level
Now that you have downloaded the .msi or .mst setup file, the next step is to create a shared folder in the network.
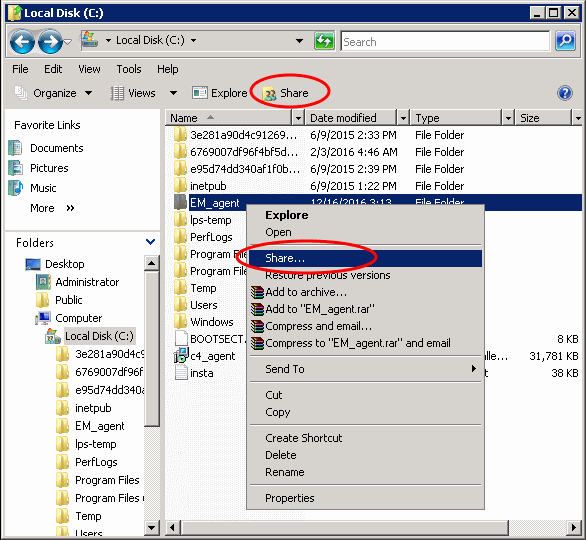
Create a new folder in your desired location
Name the folder appropriately. For example 'EM_agent'
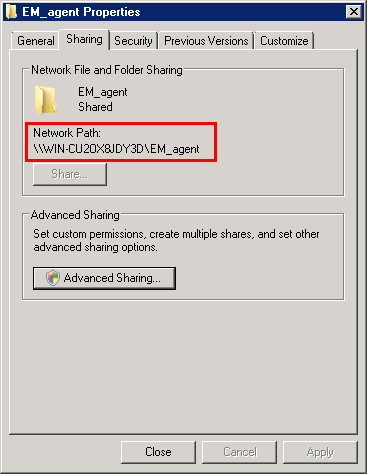
Select the folder, right-click and select 'Share' or from the menu toolbar
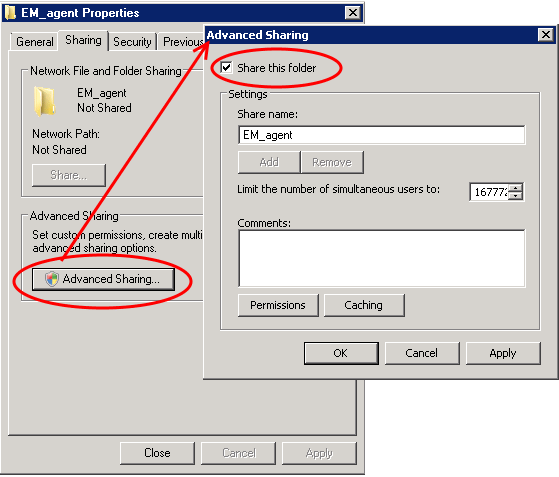
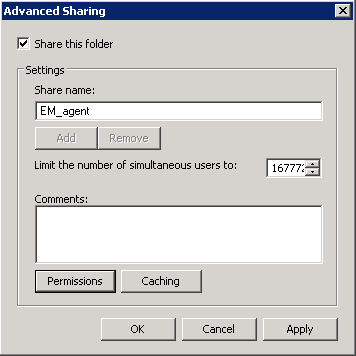
Click 'Advanced Sharing...', then select the 'Share this folder' check box
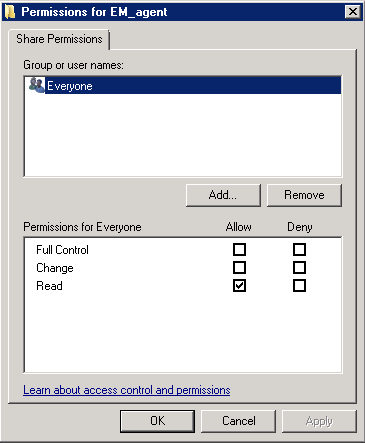
Click 'Permissions'. By default, 'Everyone' will be selected. Since all endpoints need to have at least read access to this shared folder, make sure the permission is configured for 'Everyone'
Ensure the 'Permission Level' is set to 'Read' and click 'OK'.
Click 'Apply', then 'OK' in the 'Advanced Sharing' dialog.
Note down the location of this shared folder and click the 'Close' button
Follow the similar steps to create a shared file location for .mst file, if required.
Step 4 - Create a group policy and assign the package
The next step is to create a group policy that will install the client package onto the endpoints.
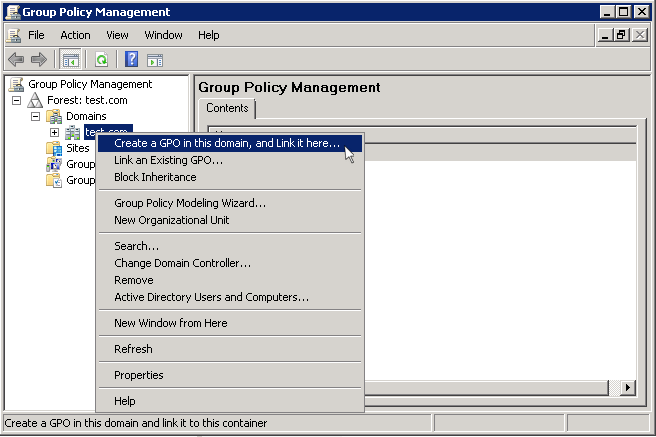
Click 'Start' > 'Administrative Tools' > 'Group Policy Management'
Right-click on the domain name and select the 'Create a GPO in this domain and Link it here...' option
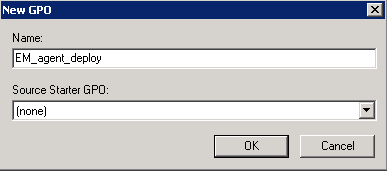
Enter a name for the group policy in the 'New GPO' dialog
Click 'OK'
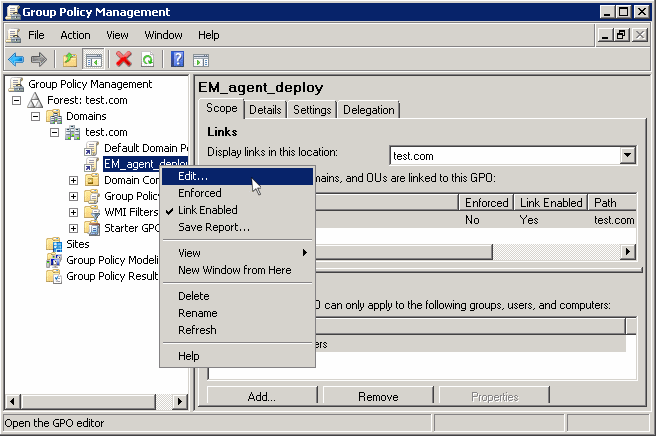
The newly added group policy will be listed.
Right-click on the policy and click the 'Edit' option
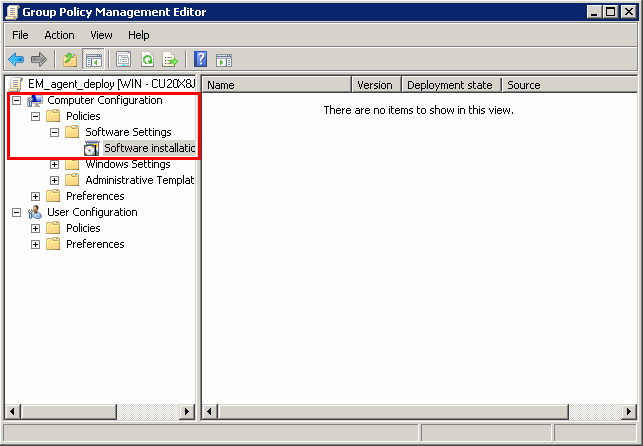
The 'Group Policy Management Editor' is shown.
Expand 'Computer Configuration' > 'Policies' > 'Software Settings'
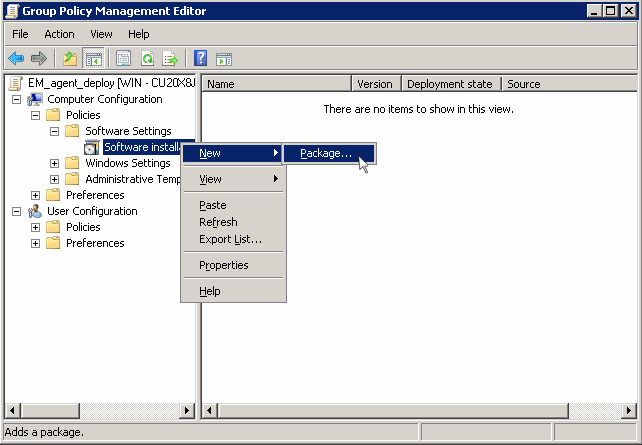
Right-click on 'Software installation' and select 'New' > 'Package'
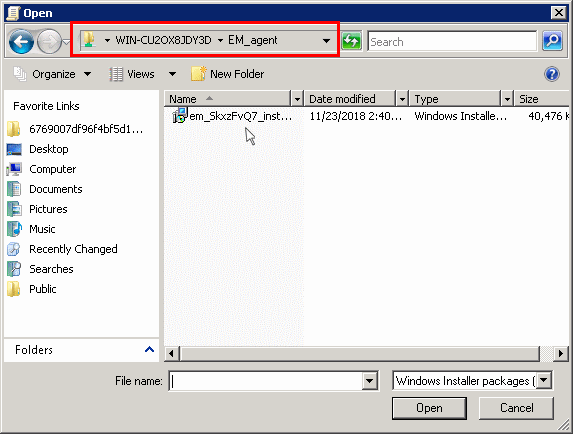
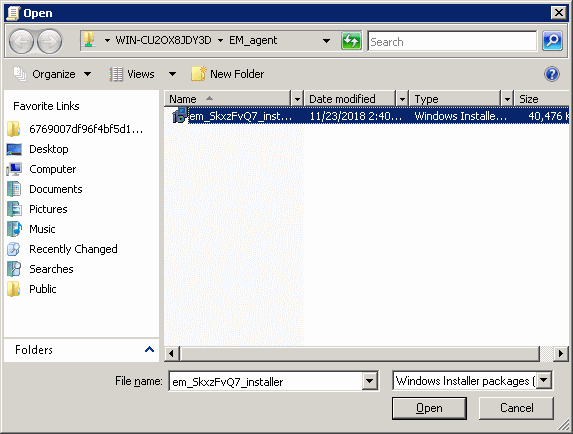
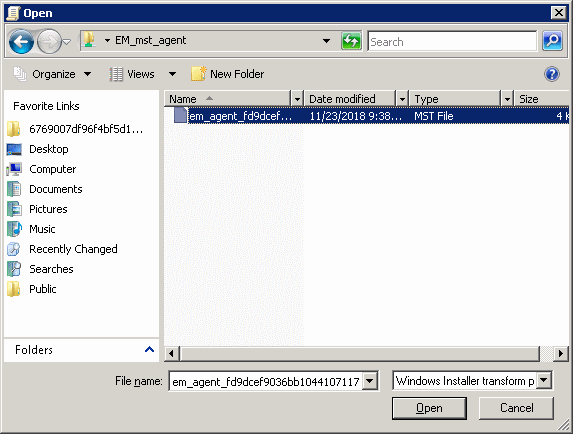
Enter the path of the shared folder that was noted before, in the 'Open' dialog, select the file and click the 'Open' button
Select the file and click 'Open'
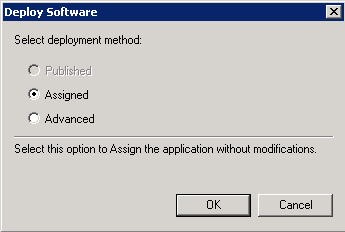
In the 'Deploy Software' dialog, select 'Assigned'
Note: If you want to add the MST file also to the GPO, then select 'Advanced' and move to 'Deploy Software' instruction in Step 6. If you want to add the .mst file later then see the instructions in Step 6.
Click 'OK'
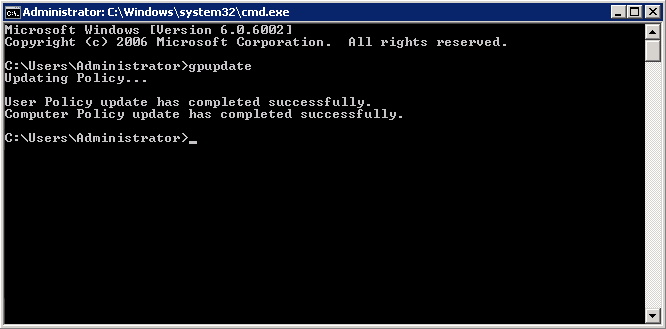
In order to install the EM client package, you need to run a GPO update in the command prompt.
Open the command prompt, type 'gpupdate' and press enter.
The group policy update is run and a confirmation message is shown:
After the group policy has been successfully updated, the endpoints must be restarted for the EM communication client to be installed.
That's it. You have now successfully enrolled Windows endpoints via AD using the GPO method. You can see the endpoints listed in the 'Devices List' screen.
Note: You may get an error message if you try to manually install the EM communication client on an endpoint where the GPO was deployed and then removed. Visit the Microsoft support site at https://support.microsoft.com/en-us/mats/program_install_and_uninstall and run the tool on the endpoint.
The device group policy that was selected in the enrollment form will be applied to the enrolled devices automatically.
If you have configured proxy settings and downloaded the .mst file then go to Step 6 to add the MST file to the newly created GPO.
Step 6 - Add MST file to the GPO
If you want to include the MST file to the GPO, then download the file after providing the details in the proxy settings fields in the form.
After downloading the file, save it on the AD server and create a shared folder as explained in Step 3.
If you are adding both MSI and MST files at one go, then select 'Advanced' at the end of Step 4.
If you are adding the file later on, then open Group Policy Management, right click on the policy, then click 'Edit'
The 'Group Policy Management Editor' opens.
Expand 'Computer Configuration' and right-click on 'Software Installation'
Click 'New', then 'Package'
Click 'Open'
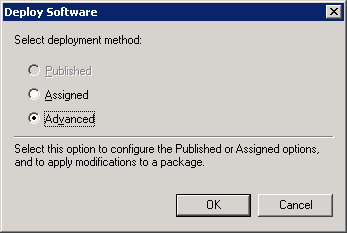
The 'Deploy Software' dialog opens.
Select 'Advanced' and click 'OK'. If you select any other option, then you won't be able to add the MST file.
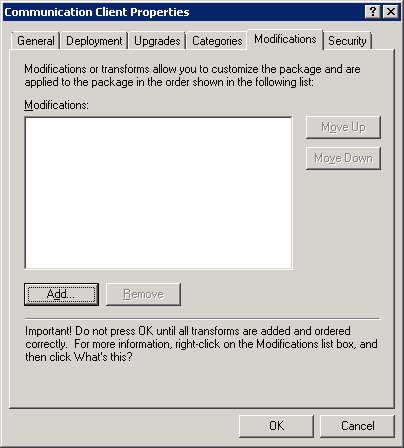
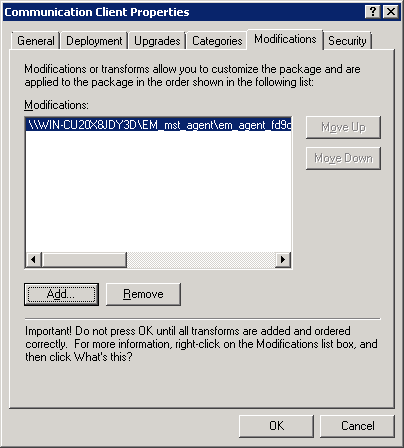
Click the 'Modifications' tab
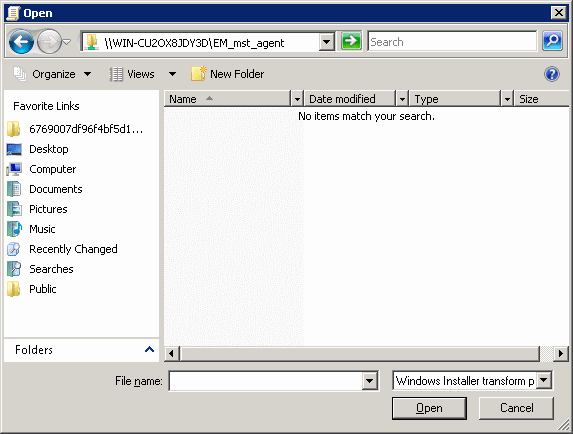
Click 'Add' and enter the location of the shared MST file in the open dialog.
Click 'Open'
The file name is shown in the dialog:
Click 'Open' again.
The MST file is added to GPO.
Click 'OK' to complete the setup.
Open the command prompt, type gpupdate and press enter to update the GPO.
That's it, you have successfully added MST file to the GPO.
After first successful connection, the device group profile(s) will be applied and the client proxy settings will take over. Make sure the profile(s) (via device, device group, user and/or user group profiles) applied to the enrolled devices contain the same proxy settings in the client proxy settings component.
CLOUD BASED IT MANAGEMENT SOFTWARE FOR
MSPs and ENTERPRISE
Remote Monitoring and Management | Service Desk | Patch Management
Now Add Up To 50 Devices for Free
---